Setting Up Webhooks
Last updated: August 14, 2026
Pursuit lets you send exported data to any HTTPS endpoint via webhooks. Webhooks deliver JSON payloads in real time whenever you export contacts or accounts, or when Radar detects new opportunities.
How Webhooks Work
Each webhook has its own Sends setting, so you choose which kinds of data reach that endpoint:
Source | How it triggers | Event types |
Research (Pipeline) | Manual export from a worksheet |
|
Pursuit (Intel) | Manual export from Intel |
|
Inbox (Radar) | Automatic — when new opportunities are detected |
|
Setting Up a Webhook
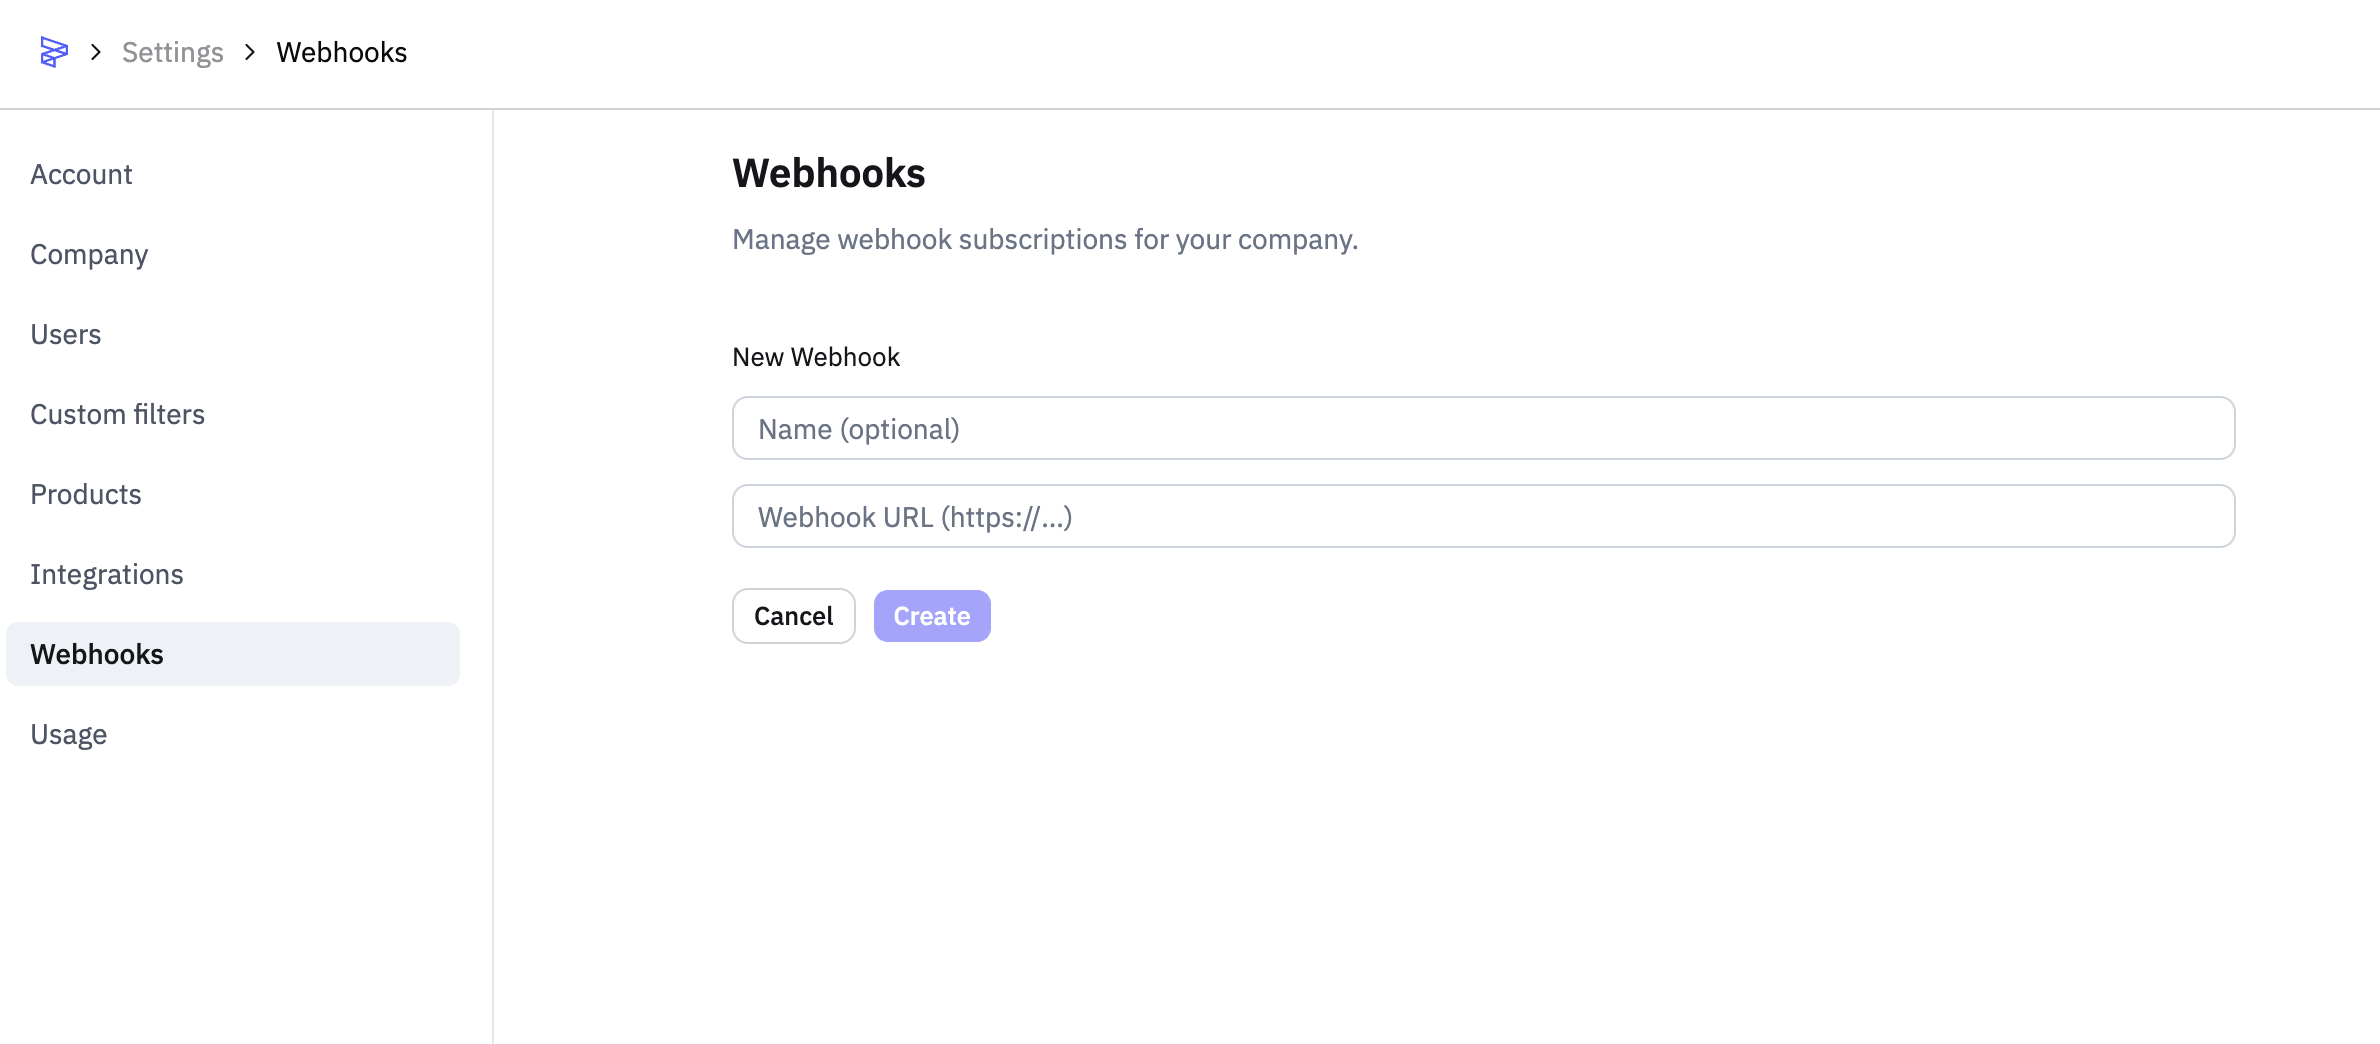
Go to Settings → Webhooks.
Click Add Webhook.
Enter a name (optional) and your HTTPS endpoint URL (e.g., a Zapier webhook URL, an n8n trigger URL, or your own API endpoint).
Click Create.
Copy the signing secret immediately — it will not be shown again. You'll need it to verify that incoming requests are from Pursuit.
Managing Webhooks
All your webhooks are listed in Settings → Webhooks. From there you can see active webhooks, create new ones, and delete webhooks you no longer need.
Changing an existing webhook
Go to Settings → Webhooks
Find the webhook and click Configure
Change what you need:
Rename the webhook
Re-point it to a different HTTPS URL
Turn Research, Intel or Radar on or off under Sends
Save
What success looks like
The endpoint receives only the data types you selected. You no longer need to delete and rebuild a webhook to correct its URL, and the signing secret survives the change.
Common issues
Problem: Your endpoint is getting Radar opportunities you did not ask for. Fix: Open Configure on that webhook and turn Radar off under Sends. This is the expected state for webhooks created before August 2026, which received everything by default.
Sending Data to a Webhook
Research and Intel Exports
Open your worksheet or Intel session.
Click Export.
Select Webhook.
Pick the destination webhook.
Confirm.
Each contact or account is delivered as a separate HTTP POST request.
Inbox Exports
Inbox opportunities are delivered automatically — no manual export needed. When Radar detects new opportunities for any user in your company, they are sent to all active webhooks. This is the same flow as Inbox email alerts, just delivered to your endpoint instead of an inbox.
Payload Formats
Every webhook delivery is an HTTP POST with a JSON body. The top-level structure is the same for all event types:
{
  "event_type": "prospecting.data.contact",
  "timestamp": "2026-02-14T12:00:00.000Z",
  "status": "new",
  "resource": {
    "type": "session",
    "id": 123,
    "name": "Q1 Outreach List",
    "subscription_id": 1
  },
  "data": { ... }
}
Field | Description |
| One of the five event types listed above |
| ISO 8601 timestamp of when the delivery was created |
| "new" for first delivery, "updated" for re-exports |
| Where the data came from — session name/ID or company |
| The actual record (see below) |
See more here on filtering webhook results:
📄 How do I filter webhook results for different kinds of data?
Contact Payload (prospecting.data.contact / intel.data.contact)
{
  "event_type": "prospecting.data.contact",
  "timestamp": "2026-02-14T12:00:00.000Z",
  "status": "new",
  "resource": {
    "type": "session",
    "id": 123,
    "name": "Q1 Outreach List",
    "subscription_id": 1
  },
  "data": {
    "contact": {
      "id": "pursuit-contact-id",
      "pursuit_id": "pursuit-contact-id",
      "first_name": "John",
      "last_name": "Doe",
      "title": "IT Director",
      "email": "john@example.com",
      "phone": "+1-555-0100",
      "linkedin_url": "https://linkedin.com/in/johndoe",
      "entity_id": "entity-id",
      "your_custom_column": "AI-generated value"
    },
    "entity": {
      "id": "entity-id",
      "display_name": "City of Austin",
      "state": "TX",
      "website": "https://austintexas.gov"
    }
  }
}
Contact payloads include the associated entity as a sibling field. Any custom AI-generated columns from your worksheet are included using snake_case field names.
Account Payload (prospecting.data.entity / intel.data.entity)
{
  "event_type": "prospecting.data.entity",
  "timestamp": "2026-02-14T12:00:00.000Z",
  "status": "new",
  "resource": {
    "type": "session",
    "id": 123,
    "name": "Q1 Outreach List",
    "subscription_id": 1
  },
  "data": {
    "entity": {
      "id": "entity-id",
      "entity_id": "entity-id",
      "display_name": "City of Austin",
      "state_abbr": "TX",
      "population": 964177,
      "website": "https://austintexas.gov",
      "latitude": 30.2672,
      "longitude": -97.7431,
      "your_custom_column": "AI-generated value"
    }
  }
}
Inbox Opportunity Payload (radar.data.opportunity)
The radar.data.opportunity payload is the primary mechanism for extracting signal-level data from Pursuit — including signal text, type, date, and source document URLs. This is the recommended approach for integrating Radar signal data into external systems.
Inbox payloads have a different structure. They include the user, the target account, the opportunity summary, up to 5 signals, and up to 5 relevant contacts:
{
  "event_type": "radar.data.opportunity",
  "timestamp": "2026-02-14T07:15:00.000Z",
  "status": "new",
  "resource": {
    "type": "company",
    "id": 1,
    "name": "Your Company",
    "subscription_id": 1
  },
  "data": {
    "user": {
      "id": 1,
      "email": "jane@company.com",
      "name": "Jane Smith"
    },
    "entity": {
      "id": "entity_abc123",
      "display_name": "City of Austin",
      "location": "TX",
      "pursuit_url": "https://app.pursuit.com/entities/entity_abc123"
    },
    "opportunity": {
      "id": "opportunity-uuid",
      "summary": "City of Austin showing active buying signals for cloud infrastructure...",
      "score": 4,
      "product_profile_name": "Cloud Infrastructure",
      "signals": [
        {
          "text": "Active RFP for cloud migration services",
          "date": "2026-02-10",
          "type": "active_rfp",
          "document_url": "https://example.com/doc1"
        }
      ],
      "contacts": [
        {
          "id": "contact-id",
          "name": "John Doe",
          "title": "IT Director",
          "email": "john@austin.gov",
          "pursuit_url": "https://app.pursuit.com/contacts/contact-id"
        }
      ]
    }
  }
}
Field | Description |
| The Pursuit user the opportunity was generated for |
| The target account with a link back to Pursuit |
| AI-generated explanation of why this is an opportunity |
| Relevance score from 1 (low) to 5 (high) |
| Up to 5 buying signals with source documents |
| Up to 5 relevant contacts at the account |
Verifying Webhook Signatures
Every webhook request includes headers for verifying authenticity:
Header | Description |
X-Webhook-Delivery-Id | Unique ID for tracking this delivery |
X-Webhook-Signature | HMAC SHA-256 signature (prefixed with sha256=) |
X-Webhook-Timestamp | Unix timestamp of the request |
To verify a request is from Pursuit:
Build the signing string:
{timestamp}.{raw_request_body}Compute HMAC SHA-256 using your signing secret.
Compare the result to the X-Webhook-Signature header.
const crypto = require('crypto')

function verifyWebhook(rawBody, timestamp, signature, secret) {
  const payload = `${timestamp}.${rawBody}`
  const expected = 'sha256=' + crypto
    .createHmac('sha256', secret)
    .update(payload)
    .digest('hex')
  return crypto.timingSafeEqual(
    Buffer.from(signature),
    Buffer.from(expected)
  )
}
Common Use Cases
Push exported contacts or accounts to Zapier, n8n, or your own custom endpoints.
Generate custom outreach emails and push to a sequencing tool.
Run account research in pipeline mode and push results to your CRM via webhook.
Feed enriched data into a BI dashboard.
Receive real-time Radar opportunity alerts at your endpoint.
See 📄 Setting Up Zapier with Pursuit for using webhooks with Zapier