Creating and Using Custom Filters
Last updated: June 9, 2026
Custom filters are organization-defined categories that your team uses to segment results across Intel and Research. You can create custom filters in Pursuit and optionally map them to fields in your CRM (Salesforce or HubSpot) to streamline your workflow.
Default Filters
Pursuit comes with two system-level filters:
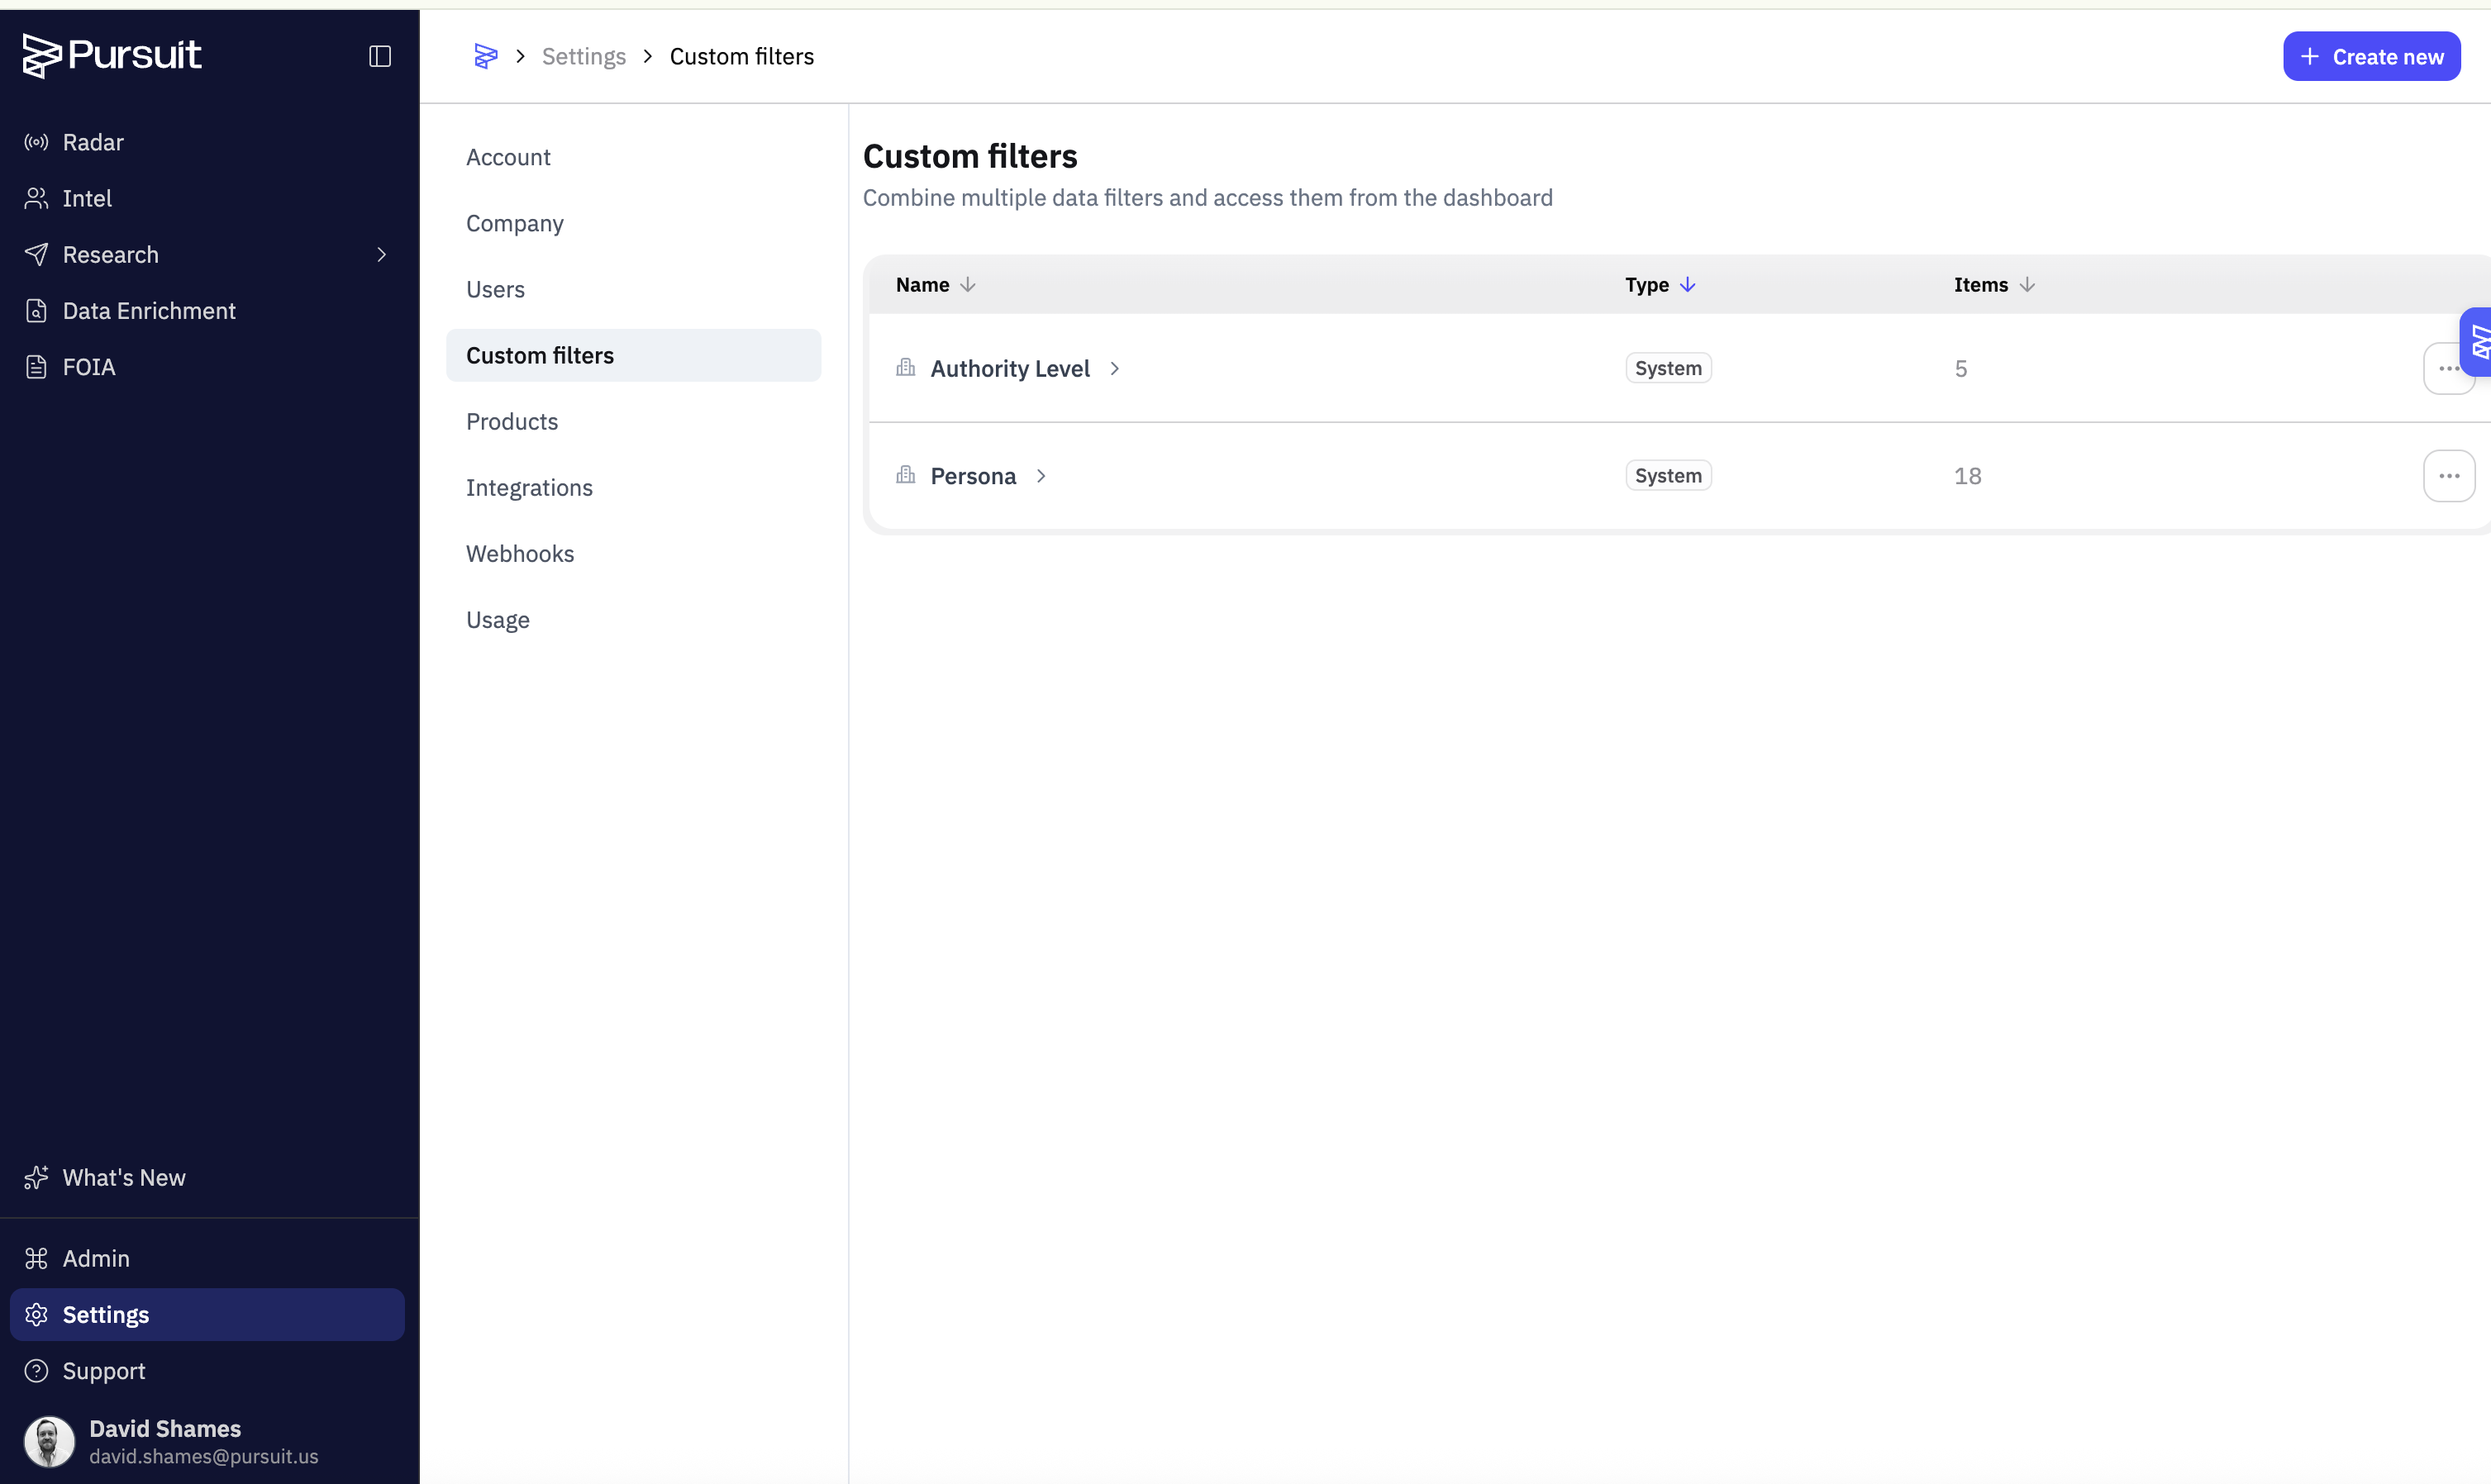
Authority Level — Segments by government tier (5 options: state, county, city, school district, special district).
Persona — Segments by functional role (17 default options: IT, procurement, public safety, finance, education, etc.).
Personas and Authority Levels are pre-built custom filters that tell Pursuit how to categorize contacts — defining who fits each role and what level of decision-making power they hold. Customizing these is a key step to ensure Pursuit categorizes your contacts correctly.
Your organization can add more custom filters to match your go-to-market strategy.
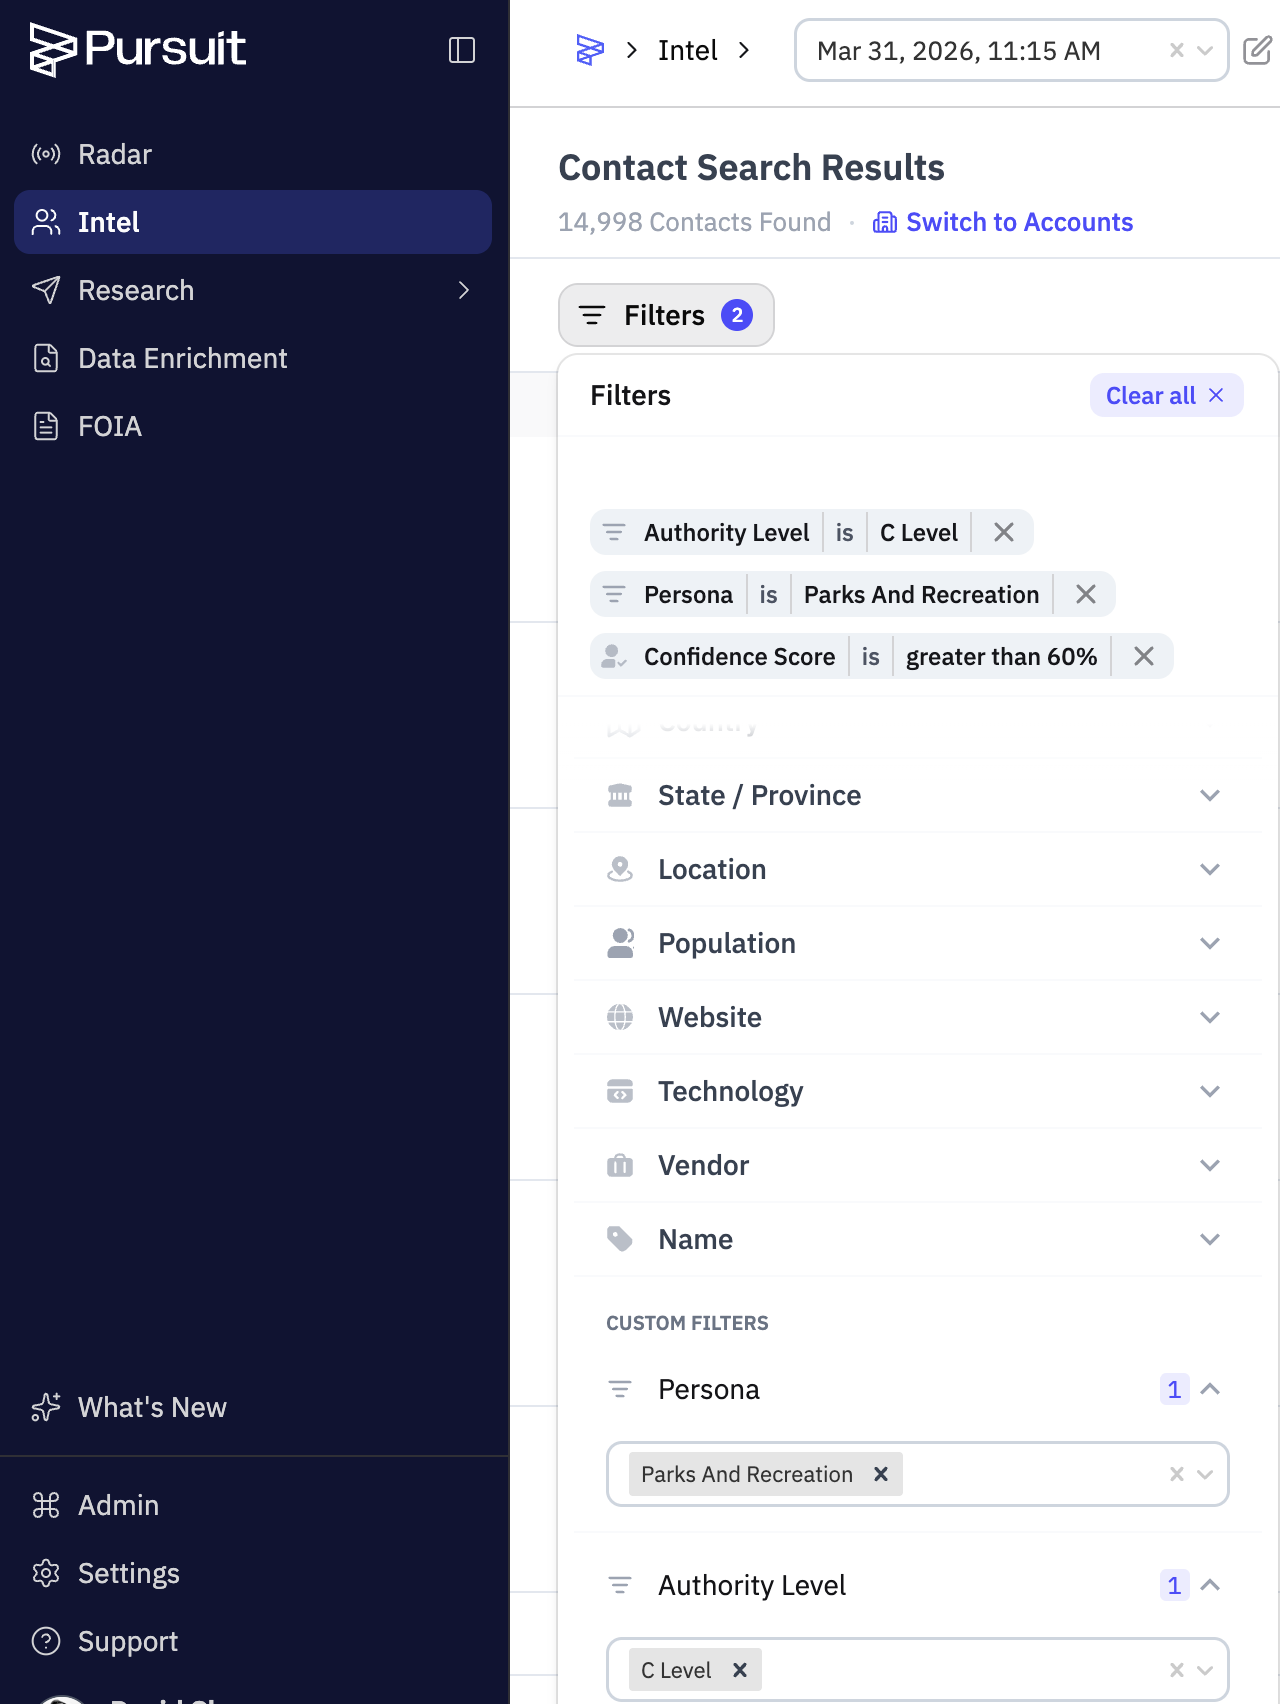
For Users: Applying Filters
Open the left sidebar in either Intel or Research.
Click a filter and select one or more options.
Results update immediately.
Filters are additive (multiple filters narrow results further) and persist across sessions.
For Admins: Creating Filters
Go to Settings → Custom Filters.
Click Create new.
Configure filter details:
Title: Give your filter a clear name (e.g., "Authority Level," "Region," "Vertical").
Key: The key field that will appear in your CRM (if connected) when exporting data using this filter. It can match the filter title.
Visibility: Toggle Company-wide on to share with all workspace members.
Define filter items:
Value: The value that will appear in your CRM when exporting data using this filter (e.g., "Director").
Filters: Toggle between Contacts and Entities to set filter conditions (e.g., Title contains "Director").
You can create multiple items under the same custom filter. For example, if the custom filter is "Authority Level," items might include Director, Manager, Individual Contributor, and so on.
Mapping Filters to Your CRM (Optional)
You can map custom filters to fields in your CRM so filter values are included when you export data from Pursuit.
For HubSpot
In HubSpot, go to Settings → Properties.
Click Create Property.
Set the Property label (e.g., "Authority Level"), choose Contact or Company as the object type, and select Dropdown Select (recommended) or Multi-line Text as the field type.
Save.
For Salesforce
Go to Salesforce Setup → Object Manager.
Select the Contact or Account object.
Click Fields & Relationships → New.
Choose Picklist (recommended) or Text Area as the field type. If using Picklist, allow multiple values and do not restrict picklist values (so Pursuit can send data even if it's not already in the list).
Name the field and save.
Map the Field in Pursuit
Go to Settings → Integrations.
Click the Mapping button for your CRM (HubSpot or Salesforce).
Click Add mapping and map the custom filter you created to the CRM field you just created.
Save.
Verifying Your Custom Filter
Run a search in Pursuit using your new custom filter (select it from the left sidebar filters) to ensure it returns expected results.
If you set up CRM mapping: export from the search results, then check your CRM to confirm the custom field values appear correctly on the records.
Best Practices for Admins
Align filters with your territory model, product lines, or vertical focus.
Keep it manageable — 3-5 filters with 5-15 options each.
Name options clearly. "K-12 Education" is better than "K12."
Communicate filter changes to your team so everyone knows what's available.
Custom filters and Products serve complementary roles.