Setting Up Your Radar Profile
Last updated: April 21, 2026
Your Radar profile tells the AI what you sell and where you sell it. A well-configured profile is the single biggest factor in signal quality.
Accessing Your Profile
Click Radar in the left sidebar, then look for the profile setup prompt at the top.
To edit an existing profile, navigate to your profile settings within Radar.
Admins can set up profiles on behalf of team members under Settings → Users → click ⋯ → Edit Radar Profile. See Managing Users and Invitations.
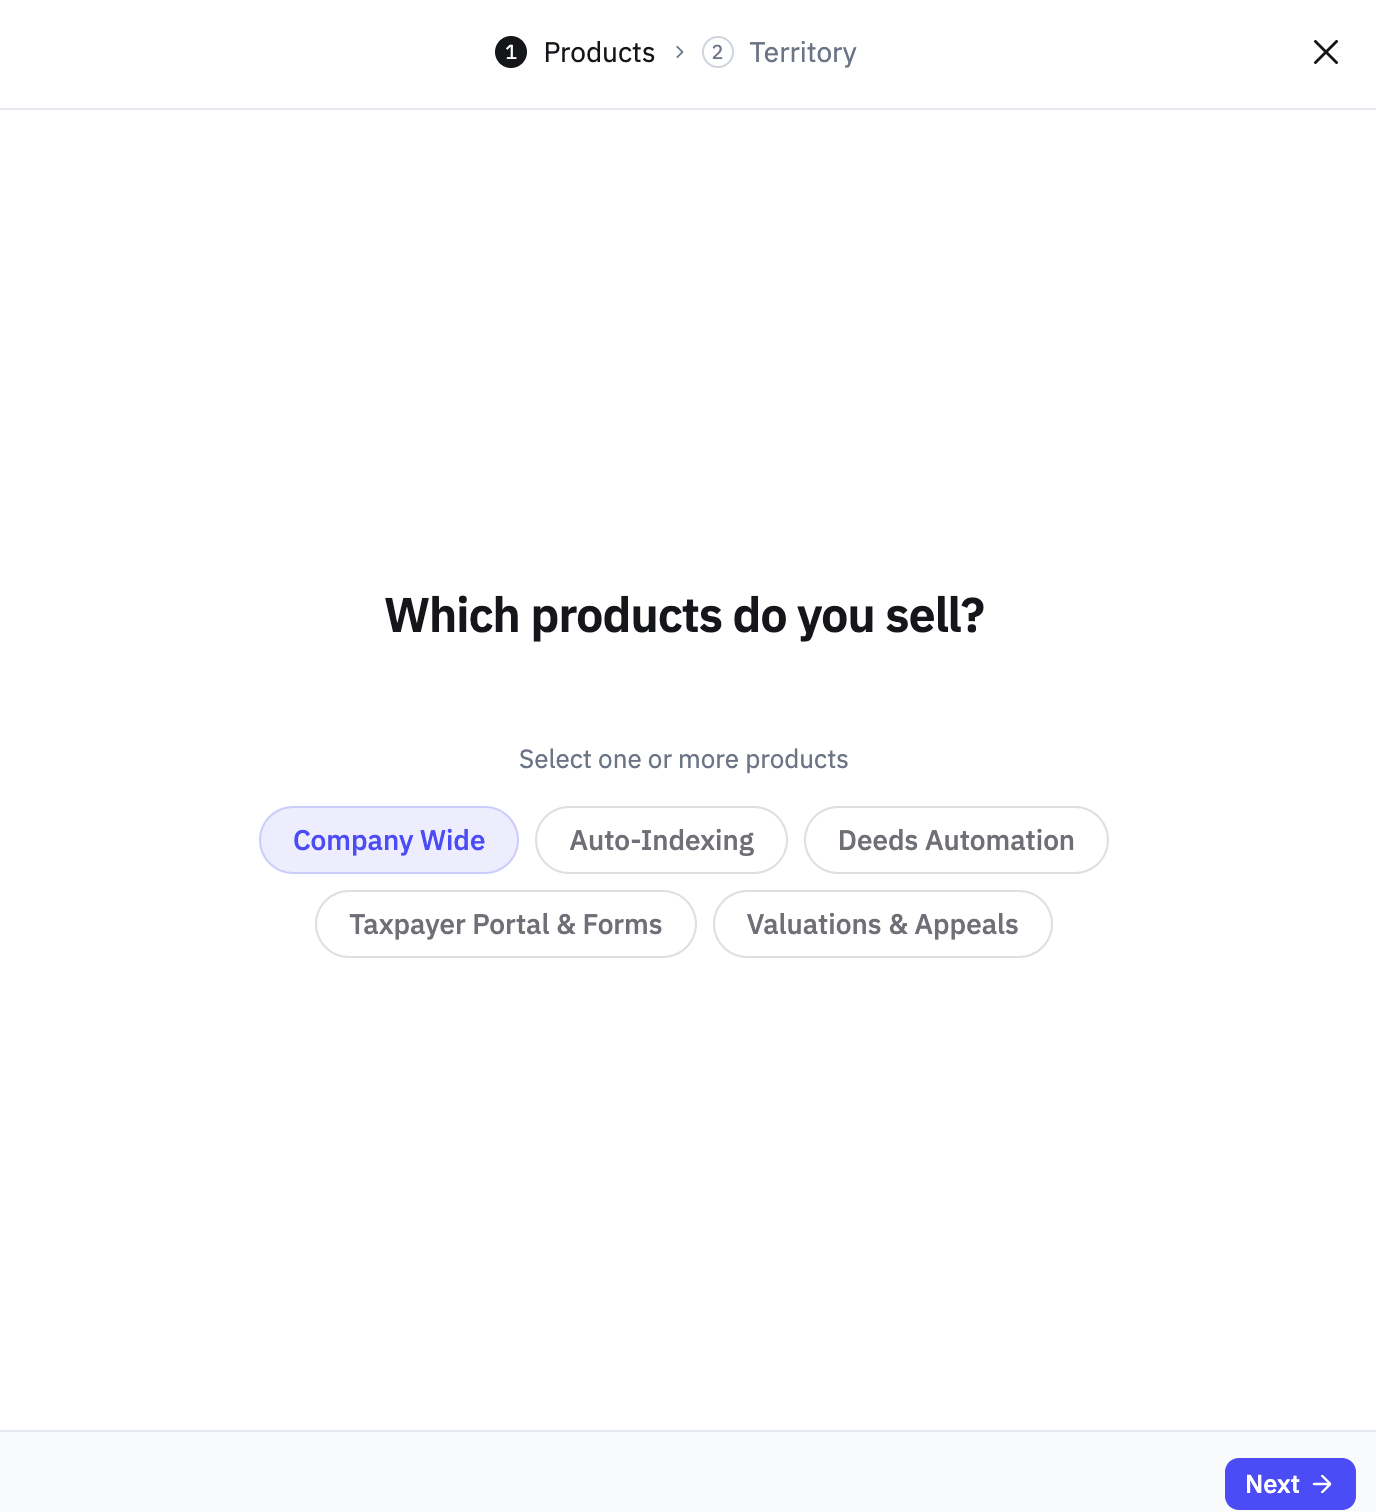
Step 1: Select Your Products
Products define what you sell. Select the ones relevant to your role.
If you're a generalist, select all. If you specialize, pick only your solution.
Products are configured by admins under Settings → Products. See Understanding Products in Pursuit.
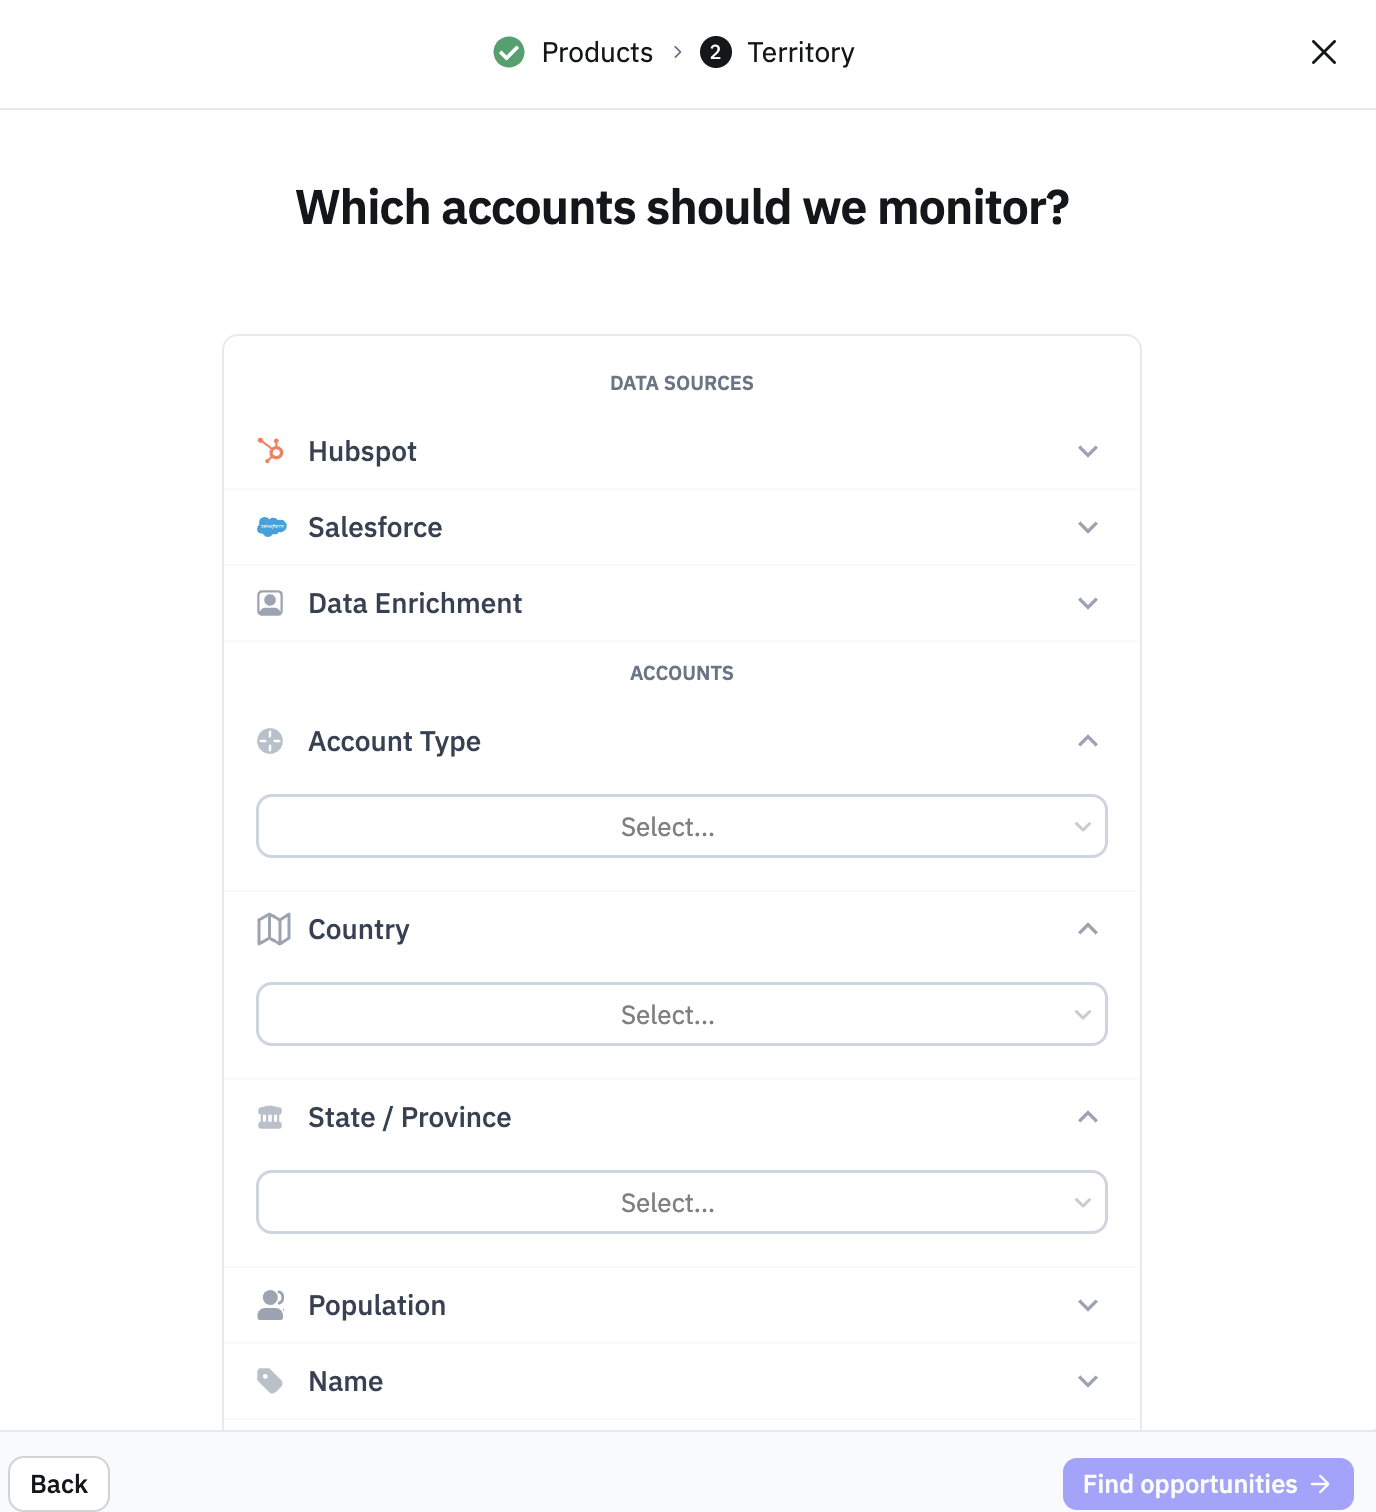
Step 2: Define Your Territory
Select the states, regions, or areas you cover.
Radar prioritizes signals from agencies in your selected territory.
Update this whenever your territory changes — Radar adjusts immediately.
Step 3: Save
Save your profile. Radar begins tailoring your Explore and Inbox feeds based on your selections.
Tips
Start broad (more products, wider territory) and narrow as you learn what's most valuable.
Use the Inbox tab as a quality check — if signals feel off, revisit your product prompts and territory. See Using Inbox
Admins should pre-configure profiles during onboarding so reps are productive from their first session. See Creating and Managing Products.