Creating Your Research Worksheet
Last updated: April 27, 2026
Overview
When you open a research workbook, you'll land in a spreadsheet-style view that should feel familiar to anyone who has worked in Excel, Google Sheets, or similar tools.
Step 1: Define your scope of entities
When you first land on your research worksheet you'll first want to select your defined set of accounts or contacts.
Select the filter criteria to narrow your the entities or contacts of focus. For example, you can click on your CRM icon and select only your assigned accounts from your CRM.
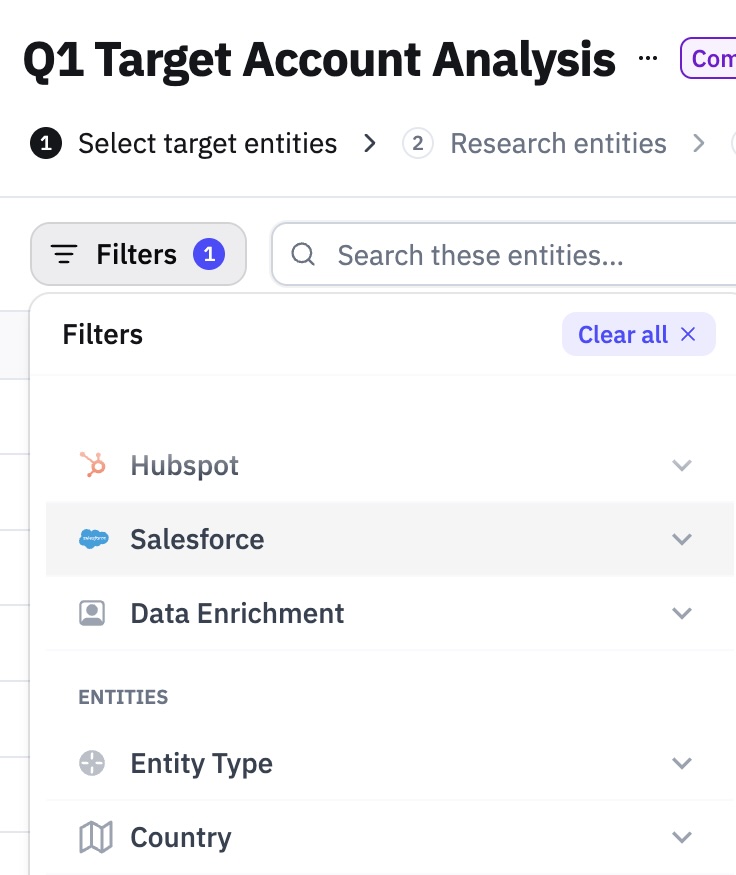
Now select the entities you want to run your research on.
To manually select individual entities, just click on the checkbox next to them, or look them up in the search bar next to the Filter button.
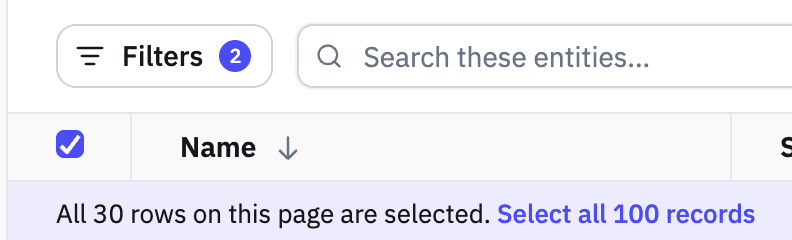
To select all of the entities in view, click on the checkbox in the top left corner of the table.
Heads Up! By default clicking on the checkbox in the top left only selects the visible rows. You must click on the "Select all..." to ensure all of your filtered rows are selected.
Click Save Workbook in the upper right to start adding adding your research prompts and insights
Step 2: Add your data columns
2a. Adding columns from another worksheet
Did you know? You can easily add the columns from another worksheet with just a couple of clicks. See how here
2b. Adding metadata fields
Immediately to the right of the entity names, you'll see metadata columns that provide context about each entity. These may include fields such as:
State — The geographic location of the entity
Population — Relevant demographic data
Type — The classification or category of the entity (e.g., State Board, State Commission)
This metadata comes from multiple sources:
You can also expose fields directly from your CRM to add additional layers of context to each entity.
You can also take advantage of Pursuit-provided data from sources like NCES and Census.
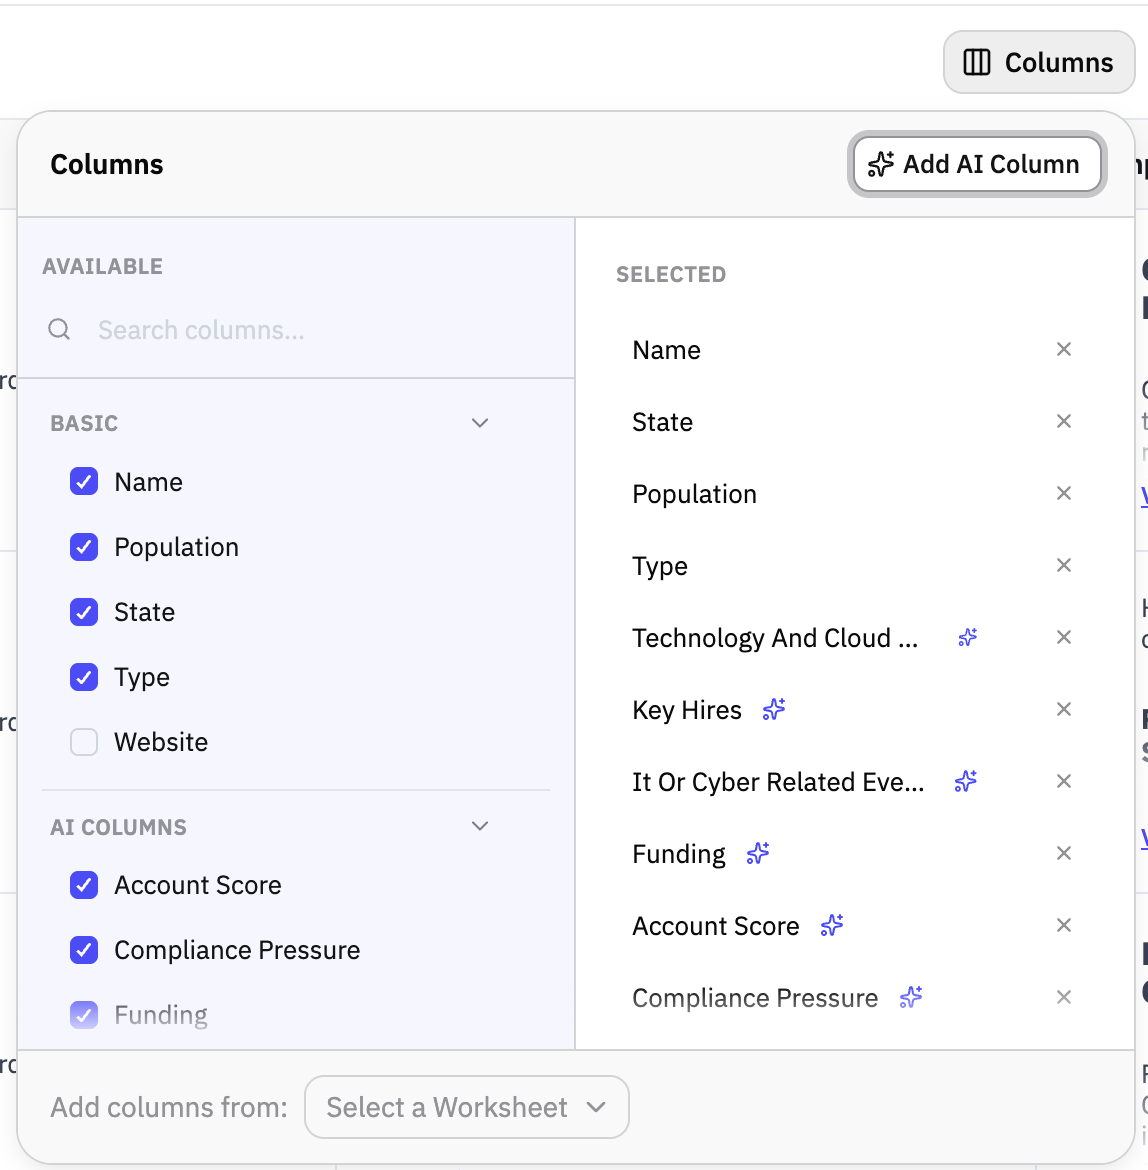
To add any metadata fields, click on the Columns button on the right of your worksheet.
2c. Enhancing your research with AI-powered prompts
Click Add AI Column in the top-right area of the workbook toolbar to access the AI column menu. Check out this article to see how to supercharge your research with AI-powered prompts.
2d. Add your own Notes to any worksheet
You can add a Notes column directly to your worksheets, so the context that lives in your head (or scattered across docs) finally has a home right where you're working.
Here's how teams are using it:
Track outreach status - log where you are with each account without leaving Pursuit
Annotate accounts - capture what you already know: past conversations, internal relationships, deal nuances your team shouldn't have to rediscover
Sync to Salesforce - if your CRM is set up to receive it, Notes can map to a custom SFDC field, so nothing gets double-entered
To get started: Click Add Column on any worksheet and select Notes.